Protein Peanut Butter Cups recipe
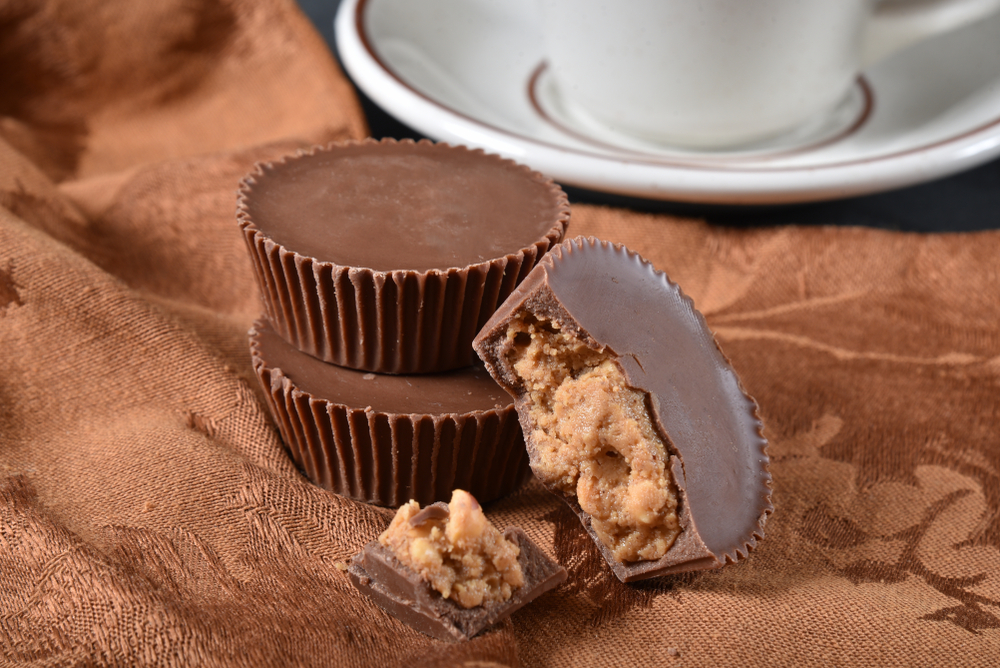
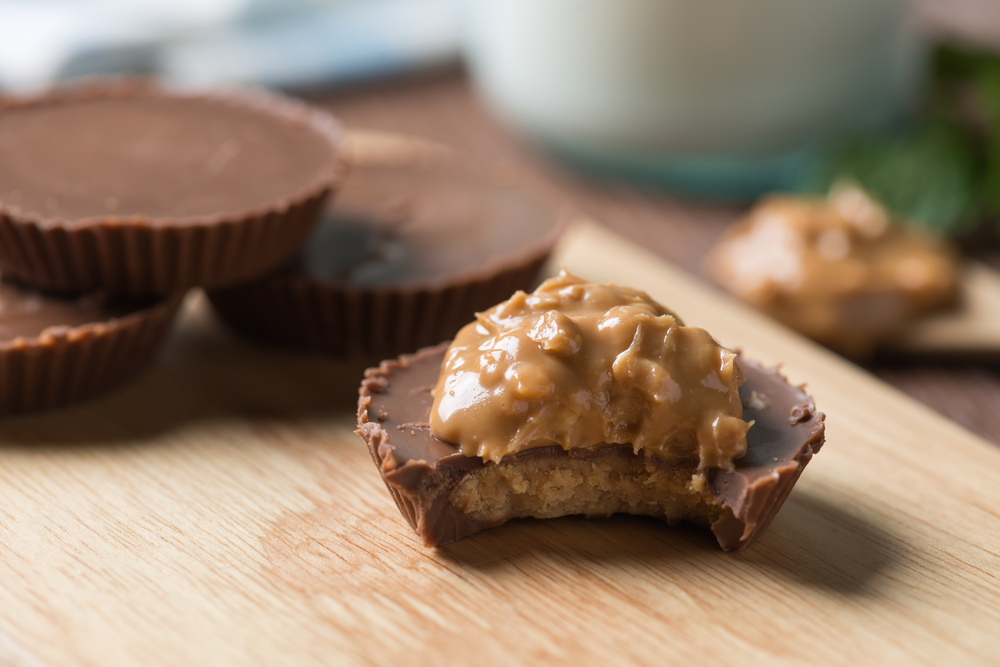
Protein Peanut Butter Cups taste just like a classic Reese’s Cup — only better for you! They’re rich, chocolatey, and creamy with a boost of protein that makes them the perfect guilt-free indulgence. If you love chocolate and peanut butter as much as we do, this one’s a must-try.
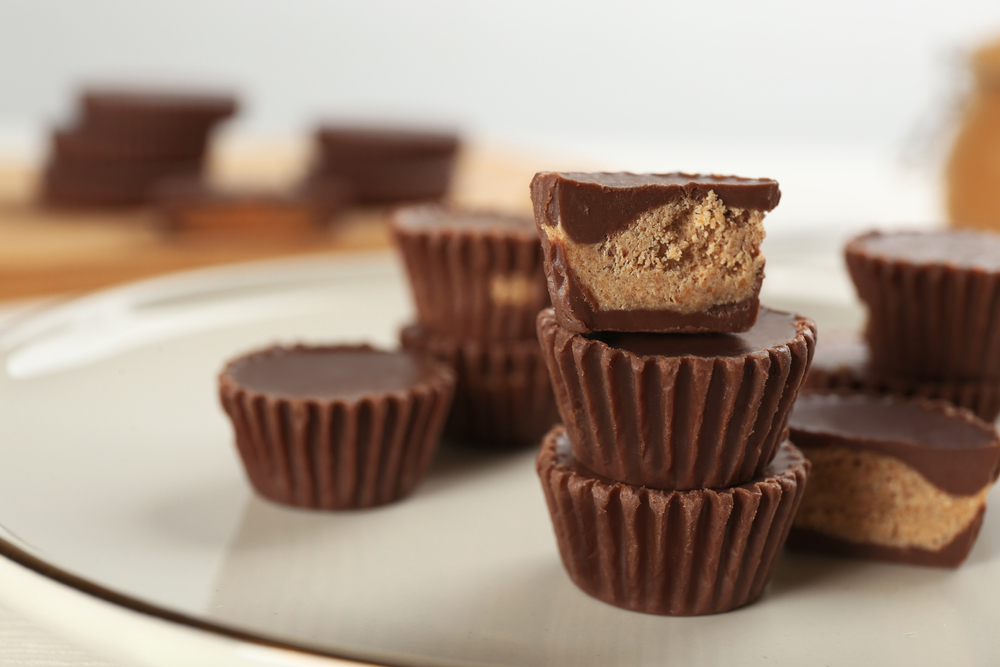
chocolate peanut butter cup protein
When it comes to dessert combos, is there anything more iconic than chocolate and peanut butter? We don’t think so!
These no-bake protein peanut butter cups are our all-time favorite healthy treats. If you’re a fan of energy balls or no-bake protein bars, you’ll love this upgraded version of your favorite candy. It’s sweet, satisfying, and protein-packed — ideal for a post-workout snack or late-night sweet craving.
Ingredients & Notes
These cups are super easy to make, and you may already have most of the ingredients in your pantry!
- Semi-sweet chocolate chips – Want a darker flavor? Swap them for dark chocolate chips.
- Coconut oil – Helps the chocolate melt smoothly and spread easily.
- Vanilla extract – Adds a warm, rich depth of flavor.
- Natural creamy peanut butter – Be sure it only contains peanuts and salt.
- Vanilla protein powder – Use your favorite brand.
- Maple syrup – For a touch of natural sweetness.
- Salt – Enhances the flavor balance.
How to Make Protein Peanut Butter Cups
Step 1: Melt the Chocolate
Add the chocolate chips and coconut oil to a microwave-safe bowl. Microwave in 30-second intervals, stirring in between, until fully melted and smooth. Stir in vanilla extract.
Step 2: Prep the Muffin Tin
Line a standard muffin tin with parchment or silicone liners. Add 1 heaping teaspoon of melted chocolate to each cup and spread it to the edges. Tap the pan gently on the counter to level the chocolate. Chill in the fridge while you make the filling.
Step 3: Make the Peanut Butter Filling
In a microwave-safe bowl, heat the peanut butter for 15–20 seconds until runny. Stir in the protein powder, maple syrup, and a pinch of salt until smooth and well combined.
Step 4: Assemble the Filling
Divide the peanut butter mixture into 12 small discs, slightly smaller than the muffin liners. Remove the tin from the fridge and place one disc into each cup on top of the hardened chocolate.
Step 5: Add the Top Chocolate Layer
If the remaining chocolate has hardened, reheat it for 15–20 seconds. Spoon the chocolate over each peanut butter disc, smoothing it to the edges. Optional: sprinkle with flaky sea salt for a sweet and salty finish.
Step 6: Chill and Set
Refrigerate the cups until the chocolate is completely set — about 15–20 minutes.
Storage Tips
Store the peanut butter cups in an airtight container in the refrigerator for up to 1 week, or in the freezer for 1–2 months. They’re amazing straight from the freezer — the perfect treat when your sweet tooth strikes!
Final Thoughts
These protein peanut butter cups are rich, satisfying, and taste just like the classic candy — but with a healthier twist. They’re easy to make, store well, and will quickly become your go-to snack or dessert.